
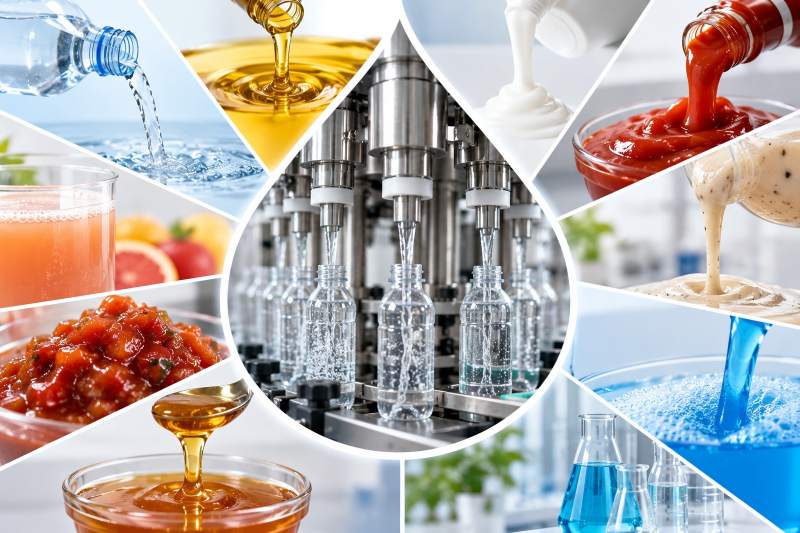
Two factories may both need to fill 500 mL bottles, yet require completely different equipment. Water flows quickly and predictably. Honey moves slowly. Shampoo may foam. Cooking oil can drip from the nozzle. A sauce may contain particles that restrict narrow product passages.
The best filling machine is the machine that can handle your product characteristics, container, required output and accuracy consistently under real production conditions.
Start With the Liquid
The first question should be:
What exactly are you filling?
Liquid products behave differently when pumped, measured and discharged through a filling nozzle. Viscosity is important, but it is only one part of the picture.
Before selecting equipment, define:
| Product Factor | Why It Matters |
| Viscosity | Determines flow behavior and suitable filling method |
| Foaming | Affects filling speed and nozzle design |
| Temperature | Can change viscosity and filling conditions |
| Particles | May restrict valves, pumps and nozzles |
| Corrosiveness | Affects material selection |
| Product density | Important for weighing and filling verification |
| Dripping tendency | Influences nozzle and shut-off design |
| Hygiene requirement | Determines machine construction and cleaning design |
A supplier who only asks for bottle volume and required speed does not yet have enough information to select the filling system properly.
Whenever possible, provide an actual product sample for filling tests, particularly for unusual, viscous or particulate products.
Match the Filling Principle to Product Behavior
1. Gravity Filling
Gravity filling is generally better suited to free-flowing, low-viscosity liquids where very high volumetric precision is not the primary requirement.
Typical applications may include water-like liquids and certain household or chemical products.
The system can be relatively simple, but performance becomes less attractive as viscosity increases.
2. Piston Filling
A piston measures a set volume and dispenses it into the container. Piston fillers are well suited for medium- to high-viscosity products, including:
- Sauces
- Creams
- Pastes
- Shampoo
- Condiments
- Honey
- Some products containing small particles
Piston systems can provide good volumetric consistency, but cylinder size, valve diameter and product passages need to match the product.
3. Pump Filling
Pump filling uses a controlled pump to deliver product to each container.
Depending on the pump technology, it can cover a wide range of viscosities and is especially useful where flexible product handling is required.
The pump itself matters. A thin chemical solution and a thick cosmetic cream should not automatically use the same pumping method simply because both are liquids.
4. Flowmeter Filling
A flowmeter measures the amount of liquid passing through the filling circuit.
It can be a strong choice for many free-flowing and moderately viscous products, particularly when fast recipe changes and electronic adjustment are important.
However, measurement performance depends on the product and flowmeter technology. Air bubbles, conductivity, viscosity changes and flow conditions should all be considered.
5. Weighing Filling
Instead of measuring product volume directly, a weighing filler monitors the increasing weight of the container during filling.
This approach is useful for larger containers and products where mass-based measurement provides practical advantages.
It is commonly considered for drums, pails, jerry cans and other larger packages.
| Filling Method | Typical Product Range | Main Advantage |
| Gravity | Low viscosity | Simple filling principle |
| Piston | Medium to very high viscosity | Strong volumetric control |
| Pump | Low to high viscosity | Flexible product handling |
| Flowmeter | Low to medium viscosity | Electronic control and recipe flexibility |
| Weighing | Many liquids, especially larger packs | Direct mass measurement |
These are guidelines rather than absolute rules. The actual product should always determine the final configuration.
Viscosity Alone Is Not Enough
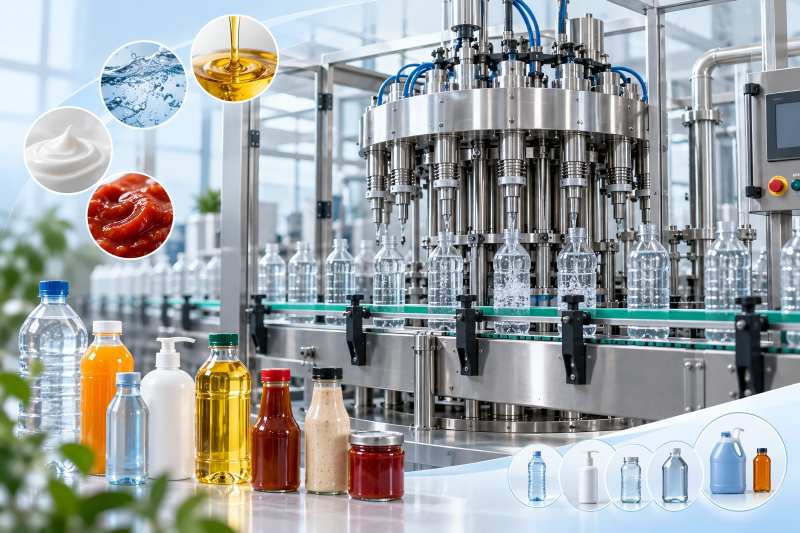
A common mistake is selecting a machine based only on whether a liquid is “thin” or “thick.”
Consider two products with similar apparent viscosity.
One flows smoothly and stops cleanly when the valve closes. The other forms long strings from the nozzle and continues dripping after filling.
Their viscosity may look similar, but their filling behavior is different.
Likewise, a tomato sauce containing small vegetable pieces requires different valve and nozzle considerations from a smooth sauce of similar viscosity.
When evaluating a product, ask:
How does it behave during filling—not simply how thick is it?
That distinction often determines whether a machine performs well after installation.
Pay Special Attention to Foaming Products
Foaming is one of the most underestimated factors in liquid filling.
Detergents, shampoos, cleaning liquids and some beverages can generate significant foam when liquid hits the bottom or wall of an empty bottle at high velocity.
The operator may see a bottle that appears full even though much of the upper volume is foam.
Reducing overall machine speed is not always the ideal solution. A better approach may involve a diving filling nozzle.
The nozzle enters the bottle and begins filling closer to the bottom. The nozzle rises gradually with the increasing liquid level.
This reduces impact and turbulence.
For some products, filling can also use multiple speed stages:
Slow start → fast main fill → slow finish
The slow initial stage reduces splashing and foam formation, while the final stage improves control near the target volume.
Container Design Matters Almost as Much as the Product
The filling machine does not handle liquid alone. It handles the combination of liquid + container.
Provide accurate container details before finalizing the equipment design:
- Bottle material
- Bottle dimensions
- Neck diameter
- Opening diameter
- Container height
- Filling volume
- Bottle stability
- Bottle shape
- Maximum and minimum bottle sizes
PET, HDPE and glass bottles behave differently on a production line.
A tall, narrow bottle may be unstable at high conveyor speeds. An irregular bottle may require special guides. A small bottle opening can limit the nozzle diameter and therefore filling speed.
For this reason, actual bottle samples are extremely useful during machine design and factory testing.
Define Filling Range Carefully
Suppose your current products use:
- 250 mL
- 500 mL
- 1 L
It may seem logical to request one machine covering all three sizes.
Often, that is reasonable.
But asking for an unnecessarily wide range—such as 50 mL to 5 L—can create compromises.
A machine optimized for a 100 mL bottle is not necessarily ideal for a 5 L container. Nozzle size, measuring range, filling time, conveyor handling and container stability all change considerably.
If your package range is extremely broad, two dedicated configurations may perform better than forcing every SKU onto one machine.
Design for real production requirements, not every theoretical bottle you might someday fill.
Calculate Capacity Based on the Real Product
“How many bottles per hour?”
This sounds like a straightforward question, but machine capacity should always be connected to bottle volume and product characteristics.
Take a 3,000 BPH production target as an example. For 250 mL bottles:
3,000 × 0.25 L = 750 L/h
For 1 L bottles:
3,000 × 1 L = 3,000 L/h
The bottle count is identical, but the required liquid throughput is four times higher.
Viscosity can further change the result.
A machine that fills 500 mL water bottles at a certain speed may not achieve the same output with 500 mL honey.
This is why a meaningful capacity specification should look more like:
500 mL product, 3,000 bottles/hour
rather than simply:
3,000 BPH
More Filling Heads Do Not Automatically Mean Better Performance
Adding filling heads is one way to increase capacity, but only when the rest of the system can support them.
Imagine increasing a machine from 6 to 12 filling heads.
Theoretical filling capacity increases, but the machine also needs:
- Sufficient product supply
- Adequate pump capacity
- Stable tank level
- Appropriate pipe diameter
- Enough conveyor capacity
- Reliable bottle feeding
- Faster downstream capping and labeling
If upstream product supply cannot keep up, adding filling heads may simply create low-level alarms and unstable filling.
Filling machine capacity should match the entire production line, including upstream supply and downstream equipment.
Decide What Filling Accuracy You Actually Need
Higher accuracy is desirable, but it should be specified realistically.
Filling accuracy depends on more than the measurement principle. Product consistency, temperature, pressure, air bubbles, valve response and machine condition can all affect the result.
A key distinction should be made between:
Accuracy — How closely the fill matches the target volume.
Repeatability — How reliably the machine maintains consistent filling results.
A machine that repeatedly fills 503 mL when the target is 500 mL has good repeatability but requires calibration.
A machine producing 485, 506, 497 and 515 mL has a more fundamental process stability problem.
For commercial production, repeatability is extremely important because systematic deviation can often be corrected. Random variation is much harder to control.
Consider Product Contact Materials
For many food, beverage, cosmetic and pharmaceutical-related applications, stainless steel is widely used for product-contact components.
The specific stainless steel grade also matters. Depending on the liquid, consider:
- Stainless-steel grade
- Seal material
- Hose material
- Valve material
- Pump construction
- Corrosion resistance
- Surface finish
- Cleaning requirements
Acidic or chemically aggressive products require particular attention.
The correct material selection should be based on chemical compatibility rather than appearance.
Think About Cleaning Before Buying the Machine
A filling machine may run eight hours but require significant cleaning between products.
That cleaning time is part of production efficiency.
If frequent product changes are expected, evaluate:
- How much product remains inside the system?
- Can hoses be drained easily?
- Are there difficult dead spaces?
- How easily can the hopper or tank be cleaned?
- Do filling valves require disassembly?
- Can the product path support CIP?
- How long does changeover realistically take?
This becomes especially important for food, beverages, cosmetics and products with strong colors or fragrances.
A machine capable of 4,000 BPH but requiring several hours to clean between short batches may produce less useful daily output than a slower machine designed for fast changeover.
Choose the Right Level of Automation
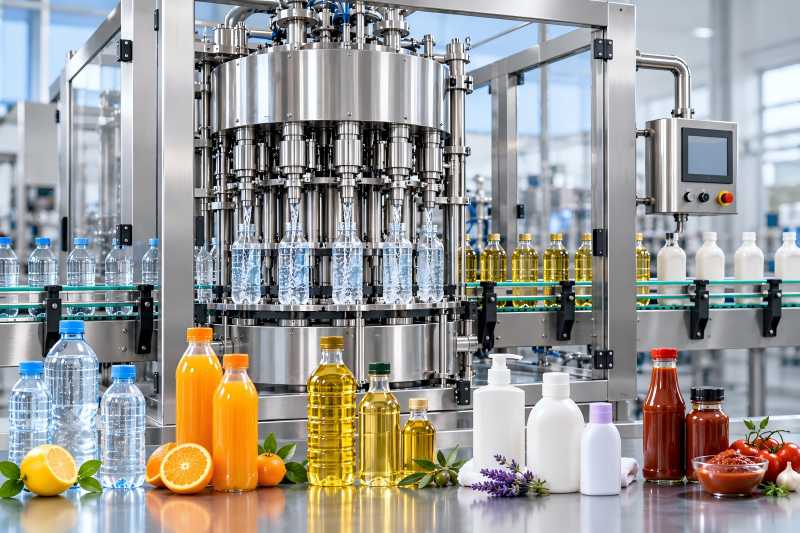
Automation should match the production scale.
A small factory filling several hundred bottles per day may not need a fully automatic line.
A larger plant running continuously will usually benefit much more from integrated automatic operation.
A typical progression is:
| Production Stage | Possible Configuration |
| Startup / laboratory | Manual or tabletop filler |
| Small batch production | Semi-automatic filler |
| Growing production | Automatic linear filler |
| Medium/high output | Integrated filling and packaging line |
| High-speed beverage production | Rotary / 3-in-1 filling system |
A fully automatic filler also needs automatic bottle supply, capping, labeling, coding, conveying and downstream packaging to realize its full value.
Otherwise, the bottleneck simply moves to another process.
Do Not Ignore Changeover
A factory rarely produces only one bottle forever.
Ask how the machine changes from one format to another.
Look at:
- Recipe switching
- Filling-volume adjustment
- Nozzle-height adjustment
- Conveyor guide adjustment
- Bottle sensor adjustment
- Change parts
- Cleaning requirements
If production involves many SKUs and small batches, quick changeover may be more valuable than maximum theoretical speed.
For example, saving 30 minutes across four daily changeovers creates two additional hours of available production time.
That can matter more than increasing nominal filling speed by 10%.
Think Beyond the Filling Machine
A successful filling project should be designed from the final required output backward.
A typical line may include:
Bottle feeding → Filling → Capping → Labeling → Coding → Inspection → Case packing → Palletizing
If the filler produces 6,000 BPH but the labeling machine can reliably handle only 4,000 BPH, the practical line output will never be 6,000 BPH.
Buffer conveyors can absorb short interruptions, but they cannot permanently solve a capacity mismatch.
Before purchasing equipment, compare the rated and practical capacities of every major stage.
Information to Send Your Filling Machine Supplier
Providing complete information at the beginning can significantly improve machine selection.
A practical RFQ should include:
| Information | Example |
| Product | Cooking oil |
| Viscosity | Approx. value or product sample |
| Bottle volume | 500 mL / 1 L |
| Bottle material | PET |
| Bottle dimensions | Drawing or physical sample |
| Neck/opening size | 28 mm |
| Target capacity | 3,000 BPH at 500 mL |
| Required accuracy | Project-specific |
| Number of SKUs | 4 |
| Cap type | Screw cap |
| Power supply | Local factory specification |
| Automation | Fully automatic |
| Downstream process | Labeling + case packing |
Videos of the product flowing or being manually poured can also help when physical samples cannot be provided immediately.
For unusual liquids, however, actual filling tests remain preferable.